


How to Set up Road Tubeless ?
Making your road bike, or gravel bike, or cyclocross bike is mentioned a lot in media just now. It could easily be seen as a trend, but it does make riding more comfortable, and not having to change tubes in the rain is worth its weight in gold.
The other thing with going tubeless is that people worry about getting set up. With road and gravel tires we have found the setup to be quicker and easier than on mountain bikes. It is definitely a lot easier than on fat bikes.
A quick note on tire boosters, many people use them to seat mountain bike tires but so far on road bikes we’ve not needed to use one yet. Taking the valve core out and using a high-quality track pump and pumping fast can get you enough air in to safely seat the tubeless tire.
Setting up road tubeless
There are two ways in which you could be doing this. You could be setting up on a completely new rim or an older wheel that you’ve used and decided to upgrade. If you’re using new wheels, you can skip ahead a bit.
If you have an older set of wheels, the first thing to do is to remove the old rim tape.

You’ll then want to clean the rim. You’ll want to use an alcohol-based cleaner as it’ll not leave any residue that can affect tubeless performance.
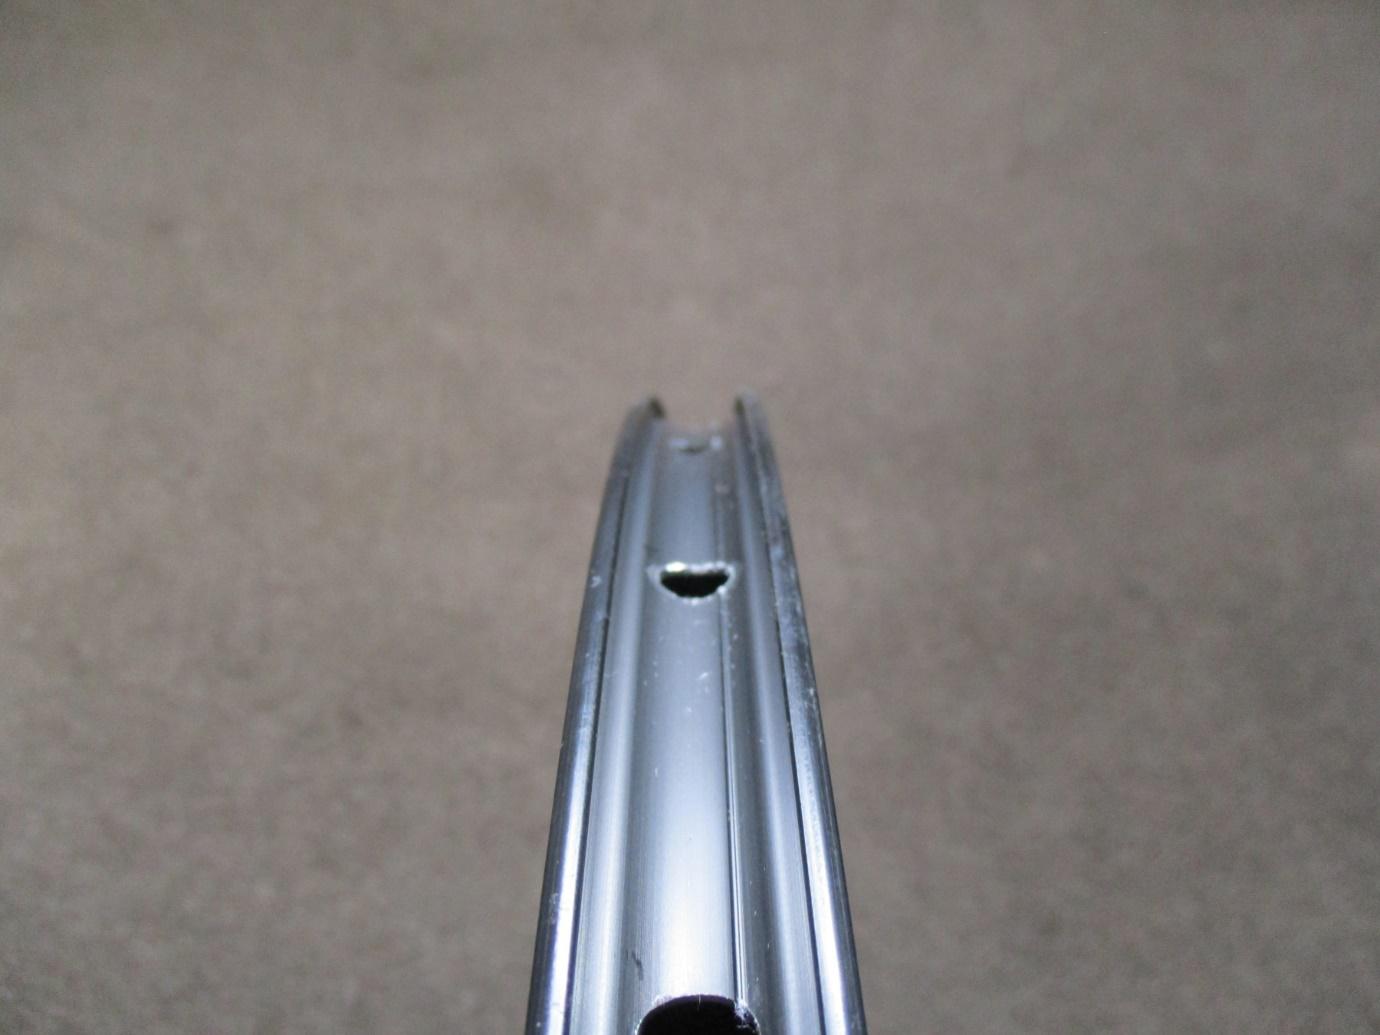
You should have a rim that no looks like the above.
If you’re using new wheels, it should look similar straight out of the box. You can also give it an alcohol rub down as well. If you’re using a carbon fiber rim, don’t use any form of solvent.

Now you’ll want to run tubeless tape all around the rim. You can also use Gorilla tape for a more cost-effective solution.
You’ll want to start the taping process at the opposite side of the wheel rim to the valve hole. Pull the tape taut and hold it down. After a few inches, the tape should have enough grip to hold itself in place. Work your way around the wheel.
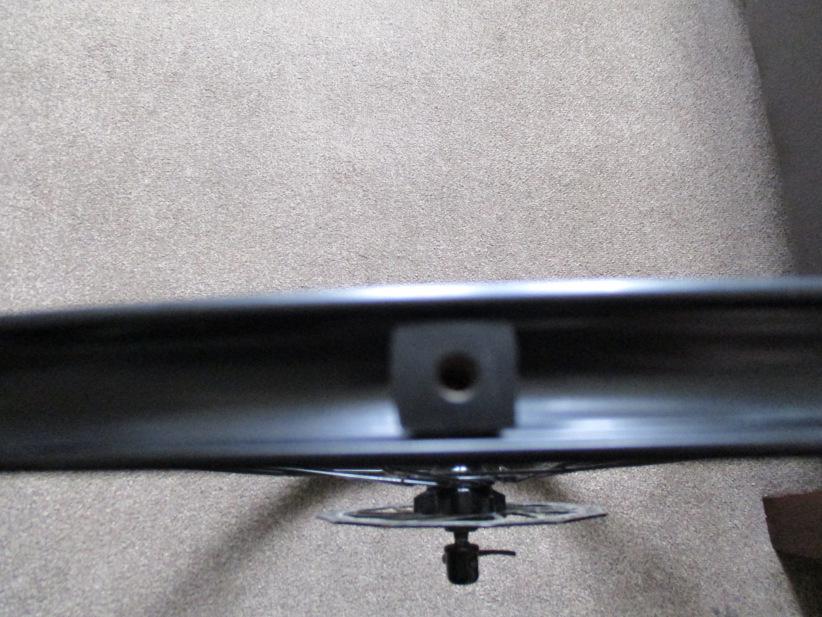
The idea is to build the center of the rim up so that it is flat, once you’ve achieved that stop and cut the tape.
Once you’ve finished taping, run a plastic tire lever around the edges to make sure they have sealed. You’ll also want to check for tears or holes. If there are any, you’ll have to re-tape the wheels. Don’t try and patch as it’ll fail when you’re miles from anywhere.
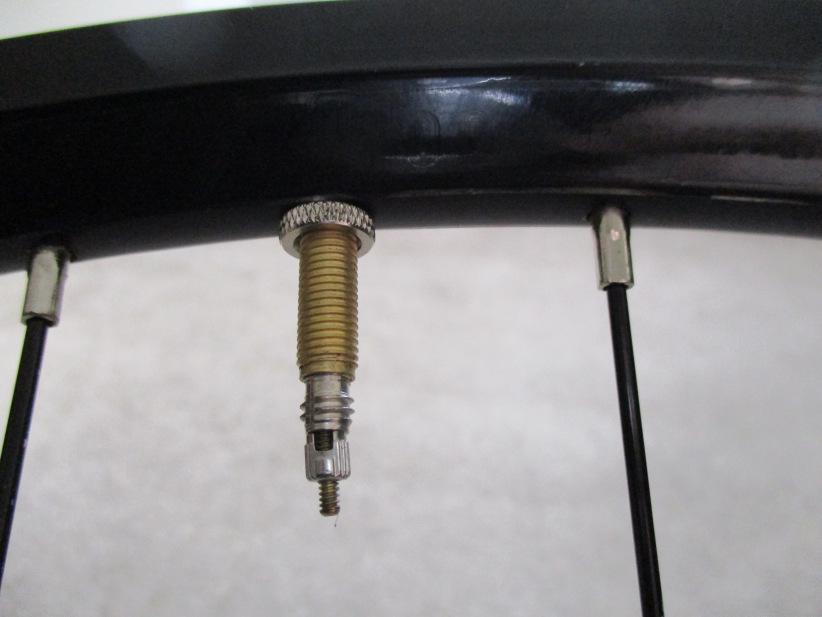
Next, you’ll need to fit your tubeless valve, make sure the valve is long enough to clear your rim. Take a prick and poke it enough to make a small hole. Do this form the outside. You can use blades to do this, but they tend to make a larger hole that is harder to seal and lets air escape.
Push the valve through the hole. It will get the hole to just the right fit.
Push down on the valve, and it’ll deform the tape, that is what you want to happen.
Take the lockring and add a dab of grease. It’ll make life easier in the future. Then use the lockring and tighten down.
Now, we have the hardest part, fitting the tire. Tubeless tires and rims will have a tight fit, and this may lead to some moments that you wish you hadn’t started. Try and use a set of grippy gloves and good technique rather than using tire levers.
If you have to use a set of tire levers, use a plastic set. Even though there is no tube, you should still be careful. You may accidentally lift the tubeless tape.
Once the tire is on, massage it around the wheel, so, it starts to sit evenly around the wheel.
You should now remove the valve core, put it down somewhere safe. Get your track pump and start pumping. You should hear some bangs as the tire gets into position. These noises are nothing to worry about; in fact, it should make you happy. Check and make sure the tire is seated all the way around.
Take the pump, and remove it from the valve. All the air will escape, but that is okay.
Now take your sealant and following the manufacturer’s instruction pour the correct amount into your valve. There is an easy way to do this. Have the valve at the top of the wheel and connect put your bottle of sealant into the valve, they usually have a small funnel.
Then turn the wheel round, and the sealant will now flow out with as little spillage as possible.
Put the valve core back in. Connect your pump and start to pump.
Get your tire to pressure and remove the pump.
Spin your wheel round to coat the tire in the sealant. Give it a few bumps on the ground just to make sure.
Fit it to your bike and go for a short ride. The tire may slowly deflate a few times until you have the tire and rim coated and sealed. So, don’t do set your road bike up tubeless the day before a big ride. Do it a week before the ride, and make sure everything is working before you go for your big ride, this hint works for all bike parts and not just going tubeless.
Out on the road
It is possible for C02 cartridges to freeze sealant, you might have seen forum talk about that. The reason it is possible is that when you release the gas from a canister, it causes an endothermic reaction.
In plain English, this means that expansion of the gas sucks in all the local heat. That is why cartridges freeze. The reaction here can freeze sealant, but there is a simple way to avoid that. Place your valve at the 12 ‘o’ clock position. Give the sealant a minute to travel to the bottom of the tire and inflate. There should then be less of a temperature shock to your sealant.